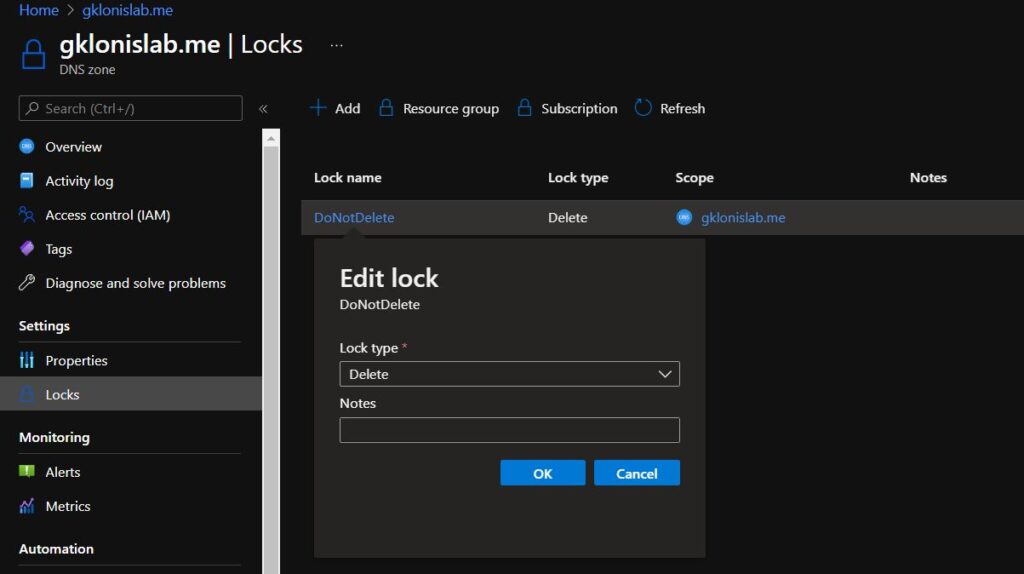
Resource Manager Locks are using by administrators to lock down Azure resources to prevent deletion or changing of a resource.
These locks, when applied, will place restrictions on the resource for all users.
These are very useful when you have an important resource in your subscription that users should not be able to delete or change and can help prevent accidental and malicious changes or deletion.
There are two types of resource locks that can be applied:
CanNotDelete: This prevents anyone from deleting a resource whilst the lock is in place. However, they may make changes to it.
ReadOnly: As the name suggests, it makes the resource read only, so no changes can be made and it cannot be deleted.
Resource locks can be applied to subscriptions, resource groups, or individual resources as required. When you lock a subscription, all resources in that subscription (including ones added later) inherit the same lock.
Once applied, these locks impact all users regardless of their roles. If it becomes necessary to delete or change a resource with a lock in place, then the lock will need to be removed before this can occur.
Adding Locks using Azure Portal
1.Select the resource you wish to lock. In the main blade, click the “Locks” icon
2. Click Add
3. Give the lock a name and description, then select the type, deletion or read only.
4. Click OK to save the lock: The resource is now protected.
5. To remove the lock, simply come back to the same interface, select the lock, and then go to delete

Hope to find this “feature” useful.
